
It’s a beautiful day outside, the birds are chirping, and the sun is shining. But, there’s one small problem – your outdoor spigot is leaking. Not only is this annoying, but it’s also a waste of water and can potentially increase your water bill. However, there’s no need to fret. This guide will walk you through the steps to fix a leaky outdoor spigot. Let’s roll up our sleeves and get to work!
Identifying the Faucet Type
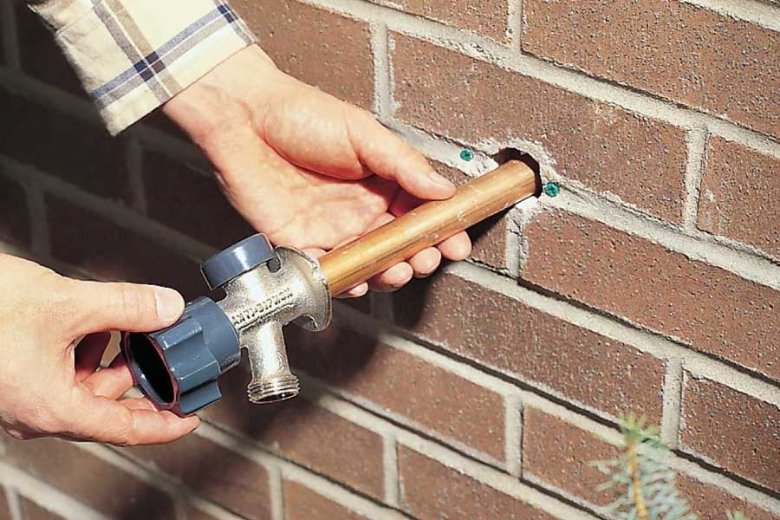
Before jumping into the repair process, we first need to identify the type of faucet or spigot you have. Common types include ball, cartridge, and compression faucets, each of which requires a different approach for repair.
Assembling Your Tool Kit
You’ll need the following basic tools for this job:
- Adjustable wrench or pliers
- Screwdriver
- Replacement parts (such as a new washer or O-ring)
- Plumber’s tape
- Plumber’s grease
These tools can be found at your local hardware store or online.
Steps to Fixing a Leaky Outdoor Spigot
Step 1: Shut Off the Water
Before you start with the repair, ensure you turn off the water supply to prevent any unexpected water surges.
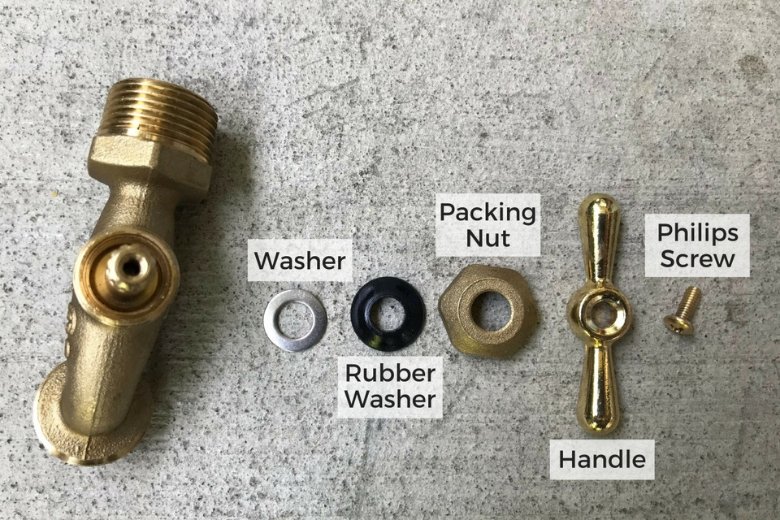
Step 2: Disassemble the Spigot
Begin by removing the handle of the spigot. Usually, this involves unscrewing a screw at the top of the handle. Once removed, you should see the packing nut, which can be unscrewed to reveal the stem.
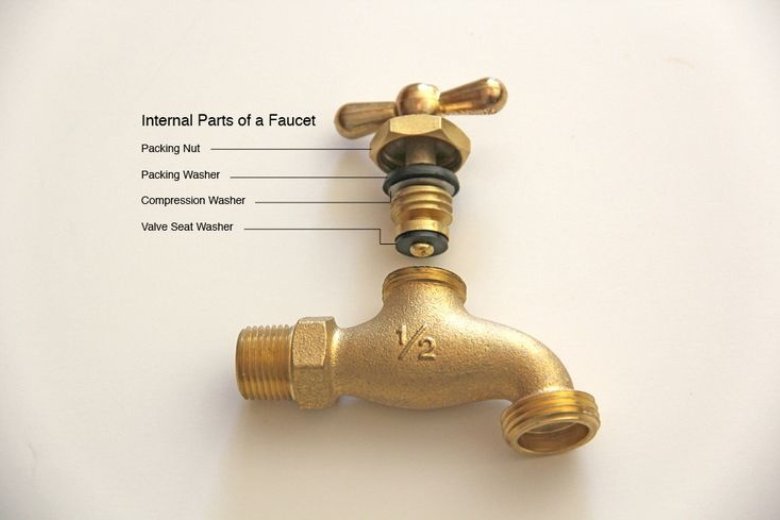
Step 3: Inspect the Parts
Examine the stem and the other interior parts. One common reason for leaks is a damaged washer, located at the end of the stem. Check if it’s worn out or does not fit correctly.
Step 4: Replace the Damaged Parts
If any parts, like the washer or O-ring, are damaged, replace them. Make sure the replacement parts are the same size and type as the originals. If your spigot is significantly old or damaged, consider replacing the whole unit.
Step 5: Reassemble the Spigot
After replacing the damaged parts, reassemble the spigot. Remember to screw everything back tightly. It may help to wrap plumber’s tape around the threads for a more secure and watertight fit.
Step 6: Test the Spigot
Turn the water supply back on and test your spigot. There should be no leaks if the repair was successful.
When to Call a Professional
If your spigot continues to leak even after attempting to repair it yourself, there could be a more serious issue at hand. It’s best to call in a professional plumber in such scenarios to avoid further damage or complications.
Conclusion
Being able to fix a leaky outdoor spigot yourself is a valuable skill that can save you money and help preserve water. However, remember that plumbing can be complex, and it’s important to know when a problem is too big to handle on your own. As the saying goes, “An ounce of prevention is worth a pound of cure.” So, maintain your plumbing regularly to prevent leaks and other issues from happening in the first place. Happy plumbing!